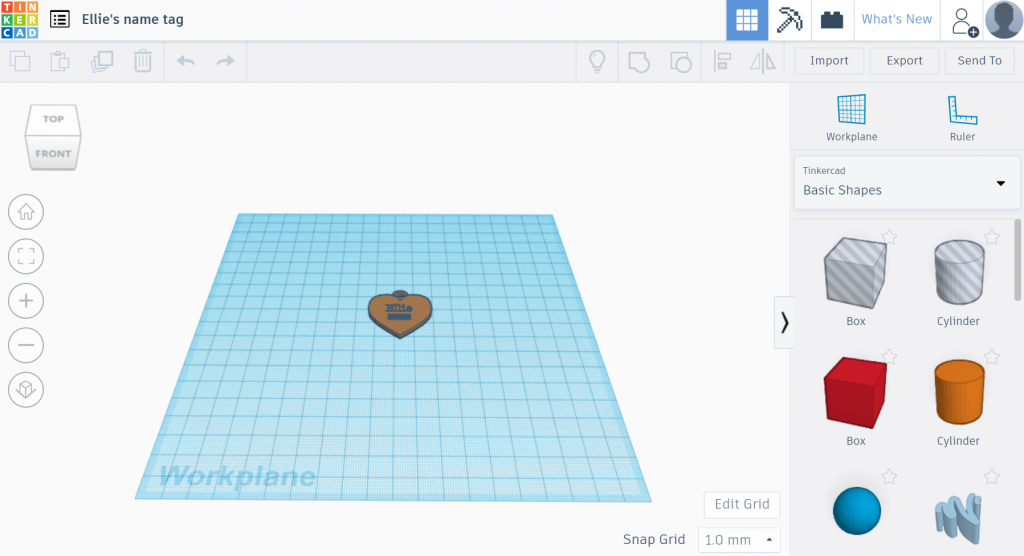
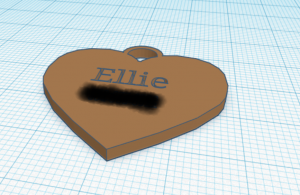
On Thursday, October 10, I attended a free 3D Design and Print workshop at UVic Digital Scholarship Commons. At this workshop they spoke about the processes and products of 3D printing and gave us the opportunity to design our own model using the TinkerCad software. I made a simple name tag for my doggo, Ellie!
Useful Resources:
- Thingiverse Education: “provides over a hundred free lessons that make teaching with a 3D printer easier and more effective for a variety of grade levels and subjects. It also provides a community where educators can exchange best practices or remix projects.”
- TinkerCad: “a free, easy-to-use app for 3D design, electronics, and coding. It’s used by teachers, kids, hobbyists, and designers to imagine, design, and make anything!”
- Sketchfab: resource to search for 3D print artifacts – available to use and download because of the creative commons license.
Possibilities:
- Biodegradable glow stick cap (UVic student)
- Anything!
Important to look at the model from multiple angles to make sure it all lines up before printing
Think about printing orientation so as to maximize efficiency (i.e. which orientation will allow for minimal support?).
Can use heat to smooth things out. Or shape filaments using a blow drier, for example.
Available printing filaments:
- PLA (polylactic acid – used at UVic)
- PVA (polyvinyl alcohol)
- TPU 95A (flexible filament)
Technique to inquire about: bridging
Leave a Reply